
When it comes to revamping the look and feel of your home, a fresh coat of paint can work wonders. However, there’s a unique way to take your house painting to the next level – textured walls. Textured walls have the power to redefine the aesthetics of your interior spaces, creating depth and character that traditional wall painting design simply can’t match.
These walls are excellent at concealing imperfections and can even be a design feature in themselves. Whether you opt for stucco, brick, wood, or plaster textures, your walls will exude a unique charm that can redefine your living spaces.
In this guide, we will explore the world of texture walls, understand what they are, how to plan for them, and the step-by-step process of transforming your walls into captivating pieces of art.
| IN THIS ARTICLE |
Understanding Texture Walls
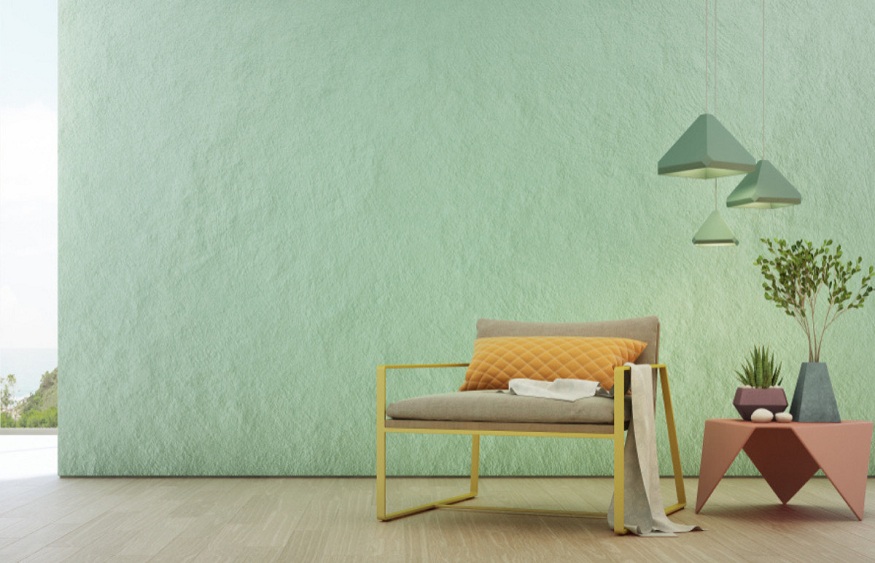
Texture walls are more than just painted surfaces; they are a canvas for creativity. Unlike traditional painted walls, texture walls add depth and dimension, turning a flat surface into a captivating work of art. They come in various forms, such as stucco, which offers a rustic charm, brick for an industrial look, wood for a natural feel, and plaster for a classic touch. Each texture brings its unique character to your space.
Planning and Preparation
Before embarking on your texture wall journey, it’s essential to plan and prepare. Assess your space to determine the suitable texture for your walls. Consider the room’s purpose and your personal style. When you’ve chosen the texture, select the right color to create the desired effect. It’s important to repair any wall imperfections and prime the surface for a flawless finish.
Tools and Materials
To begin your transformation, gather the necessary tools and materials. You’ll need items like paint rollers, brushes, trowels, and texture mixtures. Explore your local home improvement stores for these materials, or consider specific brands that work best for your chosen texture.
Step-by-Step Instructions
- Preparing the room: Start by covering furniture and protecting floors. This will ensure that your house painting project remains contained.
- Cleaning and priming the walls: For a smooth and clean surface, it’s vital to clean the walls and apply a primer. This step is crucial for a successful texture wall transformation.
- Applying the texture: Demonstrate the technique for each type of texture you choose. Whether you’re going for the rugged appeal of brick or the elegance of plaster, follow the application instructions diligently.
- Adding color: Discuss different methods for coloring textured walls. You can paint over the textured surface, or for a unique effect, tint the texture mixture before application.
- Finishing touches: Smooth out any rough edges or imperfections, and ensure a flawless, professional finish.
Tips and Tricks for Success
Achieving texture walls can be a creative journey. Work in small sections, and don’t hesitate to experiment with different patterns and techniques. If you’re looking for alternatives, consider using wallpaper or textured wall panels for a similar effect. Also, to keep your textured walls looking their best, it’s essential to maintain and clean them properly. Regular dusting and light cleaning will help preserve their appearance.
In conclusion, changing your interior wall painting design with texture walls is a transformative endeavor that can revitalize your living spaces. The tactile and visual appeal of texture walls can elevate the aesthetics of any room. With careful planning, the right tools, and a dash of creativity, you can embark on your texture wall project and witness the remarkable impact it has on your home. So, grab your house painting tools and let your walls become a canvas for your imagination!