
Vinyl shutters are a popular choice for homeowners seeking to add charm and character to their homes as wella s to match with their exterior house colour. These versatile window accessories not only enhance the aesthetic appeal of the house but also provide functional benefits such as protection from the elements and increased privacy. While vinyl shutters come in a variety of colors, styles, and sizes, there may come a time when you wish to refresh or update their appearance with a new coat of paint. Painting vinyl shutters is a simple yet effective way to breathe new life into your exterior house colour and boost its curb appeal.
| IN THIS ARTICLE
1. Preparation 4. Drying Time |
Types of Paints to Consider
Before diving into the painting process, it’s essential to select the right type of paint for your vinyl shutters. When choosing paint colours, consider coordinating them with your exterior house color for a cohesive look. Opt for high-quality exterior acrylic latex paint, which adheres well to vinyl surfaces and provides durability against weathering. Avoid oil-based paints, as they may not adhere properly to vinyl and can lead to premature peeling and cracking. Additionally, select paint colours that complement your home’s exterior palette. Consider using green, yellow, white and brown colours as they enhance overall aesthetic appeal of the shutters.
How to Paint Vinyl Shutters?
1. Preparation
Begin by thoroughly cleaning the vinyl shutters to remove any dirt, grime, or mildew buildup. Use a mixture of mild soap and water, along with a soft-bristled brush or sponge, to scrub the surfaces gently. Rinse the shutters with clean water and allow them to dry completely before proceeding.
2. Surface Priming
Apply a high-quality adhesion primer specifically designed for use on vinyl surfaces. Priming is essential to ensure proper paint adhesion and long-lasting results. Use a paintbrush or roller to apply the primer evenly over the entire surface of the shutters. Allow the primer to dry according to the manufacturer’s instructions before moving on to the next step.
3. Paint Application
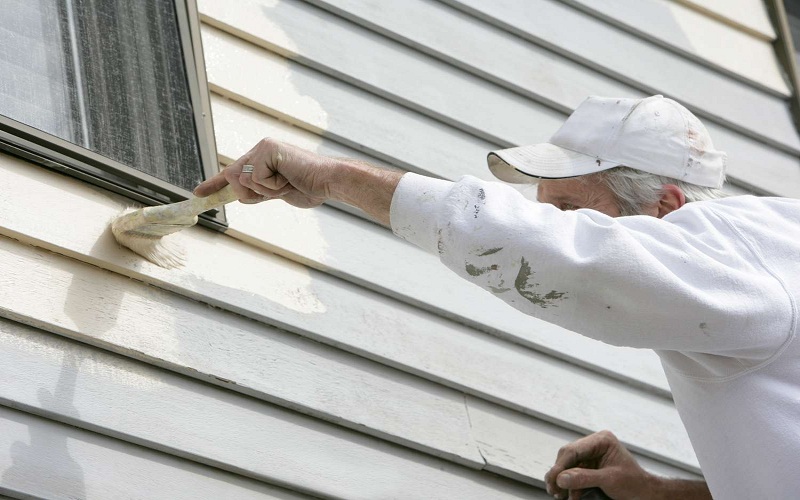
Once the primer has dried, it’s time to apply the paint colours of your choice. Use a high-quality exterior acrylic latex paint in your desired shades, such as brown colour tones that complement your exterior house color. Stir the paint thoroughly to ensure uniform consistency before applying it to the shutters. Use a paintbrush or roller to apply the paint evenly, working in smooth, overlapping strokes to achieve full coverage.
4. Drying Time
Allow the first coat of paint to dry completely before applying additional coats. Depending on the weather conditions and the type of paint used, this may take several hours. Apply additional coats as needed to achieve the desired color depth and coverage. Be sure to allow sufficient drying time between coats to prevent smudging or streaking.
5. Finishing Touches
Once the final coat of paint has dried, inspect the shutters for any areas that may require touch-ups or corrections. Use a small brush to carefully fix any imperfections or uneven areas. Additionally, consider applying a clear topcoat or sealer to protect the freshly painted shutters from UV rays, moisture, and other environmental factors. This extra layer of protection can help prolong the life of the paint job and keep your shutters looking vibrant for years to come.
Painting vinyl shutters is a simple and cost-effective way to enhance the appearance of your home’s exterior. With proper preparation, paint selection, and application techniques, you can enjoy beautifully painted vinyl shutters that withstand the test of time and weather. So, roll up your sleeves, gather your supplies, and give your home’s exterior a fresh new look with a coat of paint on your vinyl shutters.