Before following the steps for installing vinyl slats in the click system, do not forget to read the essential tips before each installation, regardless of the installation system purchased.
Having already read these tips, we begin with a step-by-step explanation of how these click PVC floors are laid to achieve a perfect result, and we can give a radical change to our kitchen (or any other room).
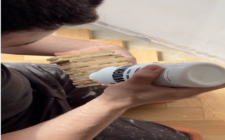
Let the click slats acclimatise to the ambient temperature of the room for 24 hours, and do not stack many boxes together. Do not install this click system floor if the temperatures are very extreme; always look for a time of year with average temperatures.
This vinyl floor comes prepared with an anchoring system between slats, which facilitates its installation without the need for work or dust, as is often the case with other parquet-type floors.
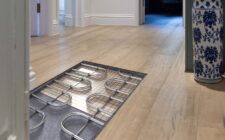
They are resistant floors, easy to clean, do not need expansion joints and also act as acoustic and thermal insulation.
What materials do we need to mount vinyl flooring in click?
We will need 4 or 5 tools like the ones described here:
- Vinyl Floor with Click System (obviously lol)
- Insulating base (can be put or not)
- separating wedges
- A utility knife or hacksaw
- hammer and pencil
- Ruler or square to draw lines
- Adhesive or silicone sealant (to hide joints if we don’t have skirting boards or stick them back)
Prepare the room and remove obstacles.
→STEP 1
Before installing vinyl flooring in the kitchen, bathroom or bedroom, we must clear all the obstacles that prevent us from laying the floor quickly.
Remove skirting boards, door flashings, furniture or appliances (if we cannot remove them, we can move them as we install them).
You already know how important it is to clean the previous pavement well and level it in case of unevenness so that it is free of dust or dirt, ready to be placed in case we want to put the insulating base.
Remember that this is optional since some people place it before installation, and others put the vinyl floor on top of the old tile.
Laying insulating base for click vinyl flooring
→STEP 2
In case you do not want to install an insulating base, skip this step and go to step 3. If you have decided to place it, it will not take much longer either since its function is to help insulate even more and to be able to generate a more excellent thermal and comfort sensation.
We only need to place the insulating base (or polyethene sheet) throughout the room, cutting the excess with a cutter when we reach the corners or walls. Lay the insulating base from the centre to the edges and make any necessary cuts.
We recommend glueing the insulating base to the previous paving with double-sided tape, for example, although you can also use some glue or fixative that is not very adherent. With this, we will prevent it from moving from its place while we install the PVC floor in a click.
We start to install the vinyl floor with a click.
→STEP 3,
Unlike adhesive vinyl flooring that can optionally start to be glued from the centre of the room, in the case of tiling in the click system, we recommend starting to lay it from one corner, reaching the next and linking them from this last corner to the initial.
Starting at the corner, as we have said, we will begin to longitudinally towards the window and always from left to right.
We will leave an expansion joint of 1.5 cm. to make sure they don’t move in cold seasons where they contract or in summer where they expand.
To ensure that the slats do not move, we must place some wedges or spacers. In case they do not fit well, we can help ourselves with a hammer and a rubber block so as not to damage them.
The assembly or linking is done with the click system we have already mentioned. The slots that each slat has must coincide, so they are not joined together.
Do not put all the click slats at the same height!
Visually it will not be pretty. It would help if you placed the vinyl floor so that the next board is not entirely parallel, but we will put them so that the beginning of one is over the middle of the adjoining one.
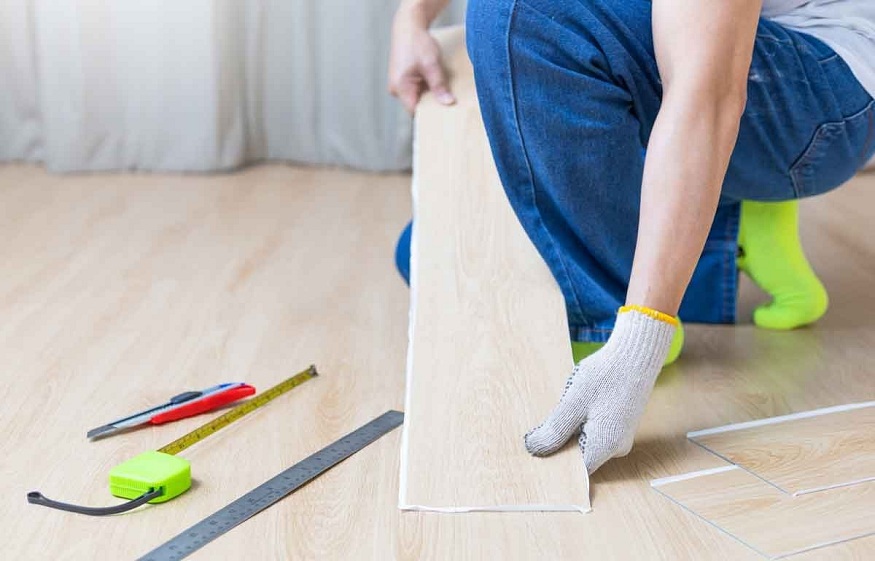
How to cut click vinyl flooring?
- To make the cuts in the corners of the wall, we can use a cutter. Passing it over the slat, we can fold it and split it without leaving edges. If you cannot measure with the slat from the ground, you can use a square.
- To accurately measure a cut, place the plank from the wall and rest it on the previous one. You can easily see the amount and pass the cutter to make it.
- Finally, remove the safety wedges and replace the skirting boards if necessary.